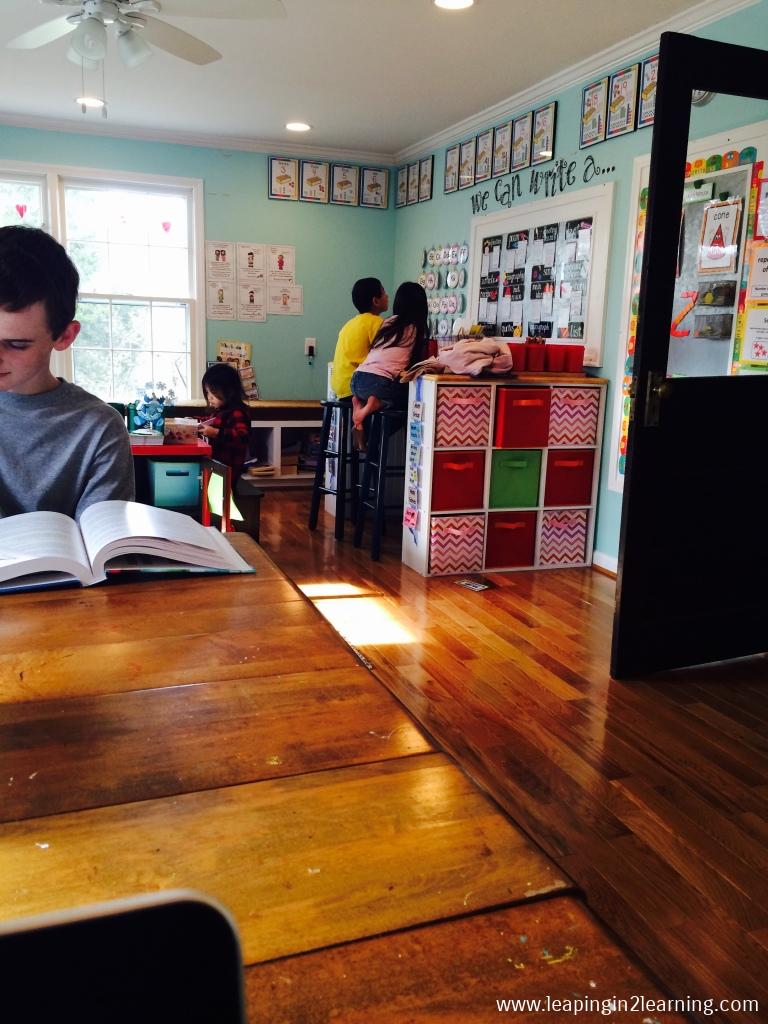
Over the last five years, I’ve had students as young as 4 and students as old as 16. In fact, this year, I again have a 4-year-old in my class and for the first time ever I have a 16-year-old in my class. In all honesty, I don’t call the place where I teach a classroom. Instead, I refer to it as our library.

When I think of what I hope to happen over the course of our days of learning, I think of scenes from a well-functioning library: students of many ages and abilities coming to a central location to learn at their own pace and from resources created for their unique levels and interests.
I will share four ways I have implemented a successful learning environment for students from preschool to high school.
1. Since I can’t multiply myself, I make myself available at specific times for specific students.
Many teachers do this everyday. You are most likely meeting with small groups or individual students over the course of a typical school day.
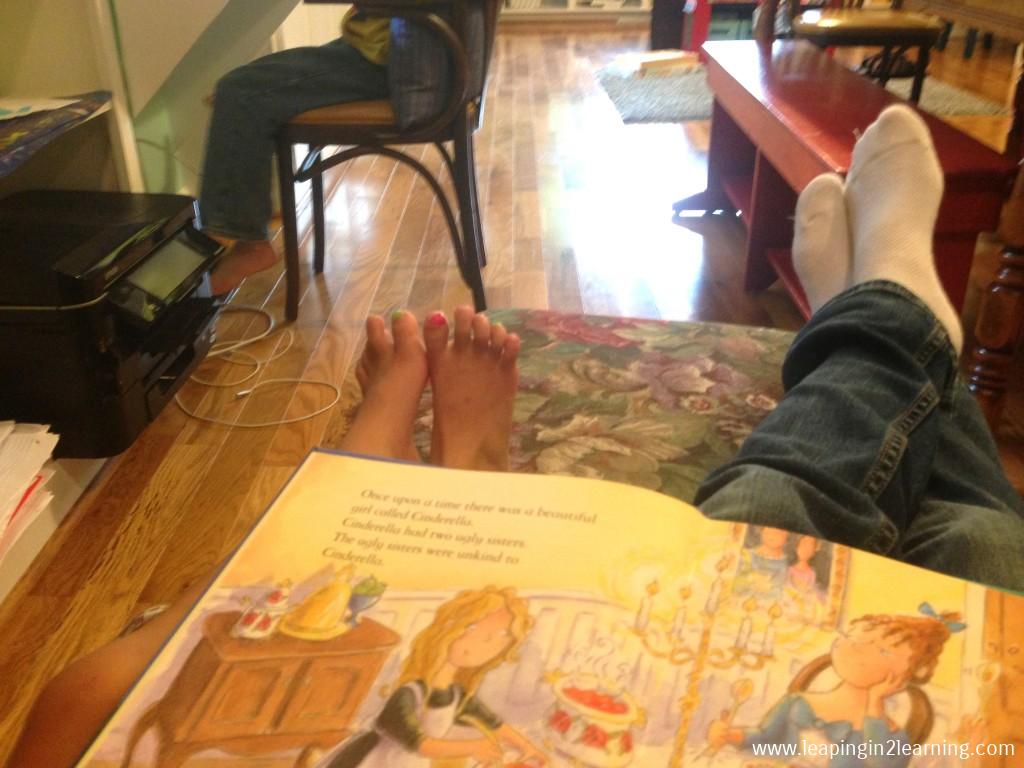
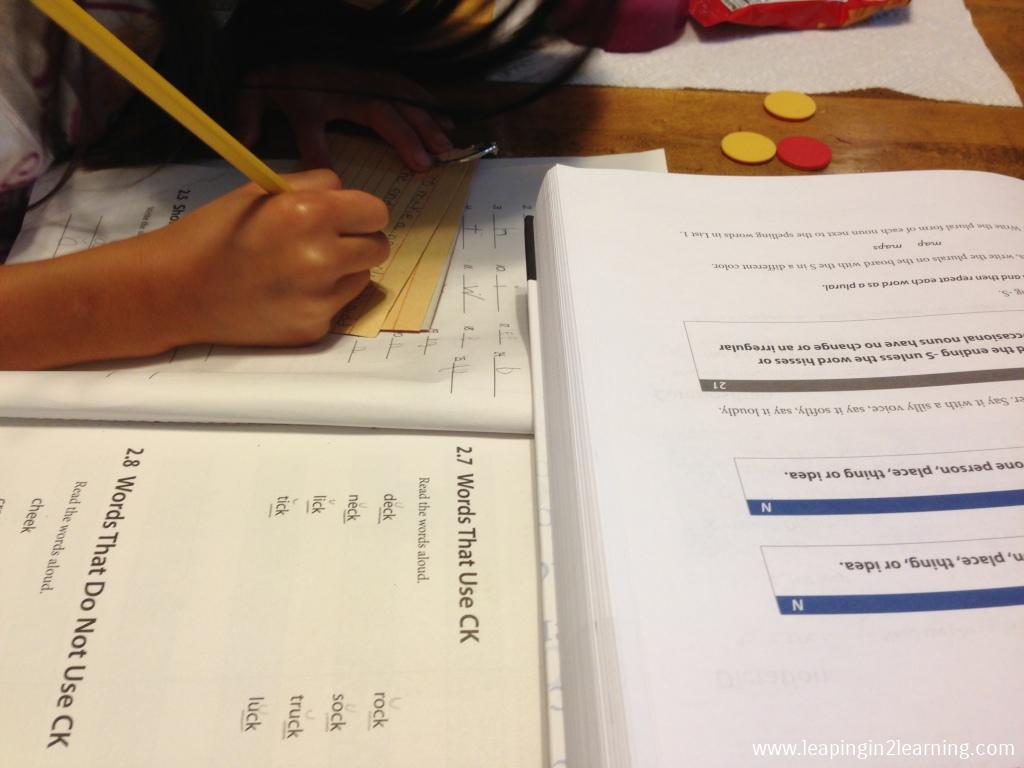
Each morning, I begin with my most needy student, who happens to be the youngest in my class at age 4. When I spend one-on-one time with her first, the rest of the day is always smoother and more productive. This time always includes reading a few books together, some of my choosing and some of hers, and on Mondays we also begin a new letter focus for our week.
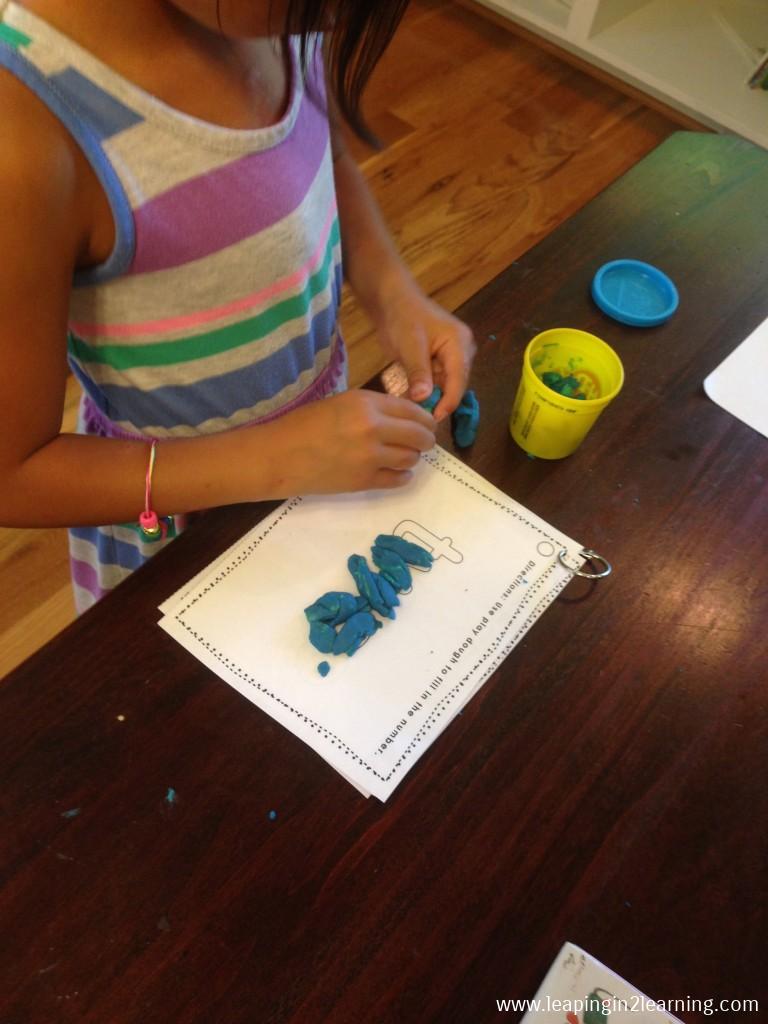
After our focused time together, I encourage her to peruse independent activities from her workboxes. I won’t lie. She has been my most difficult student to embrace independent learning, but with time and patience she is learning this time can be rewarding and fun.
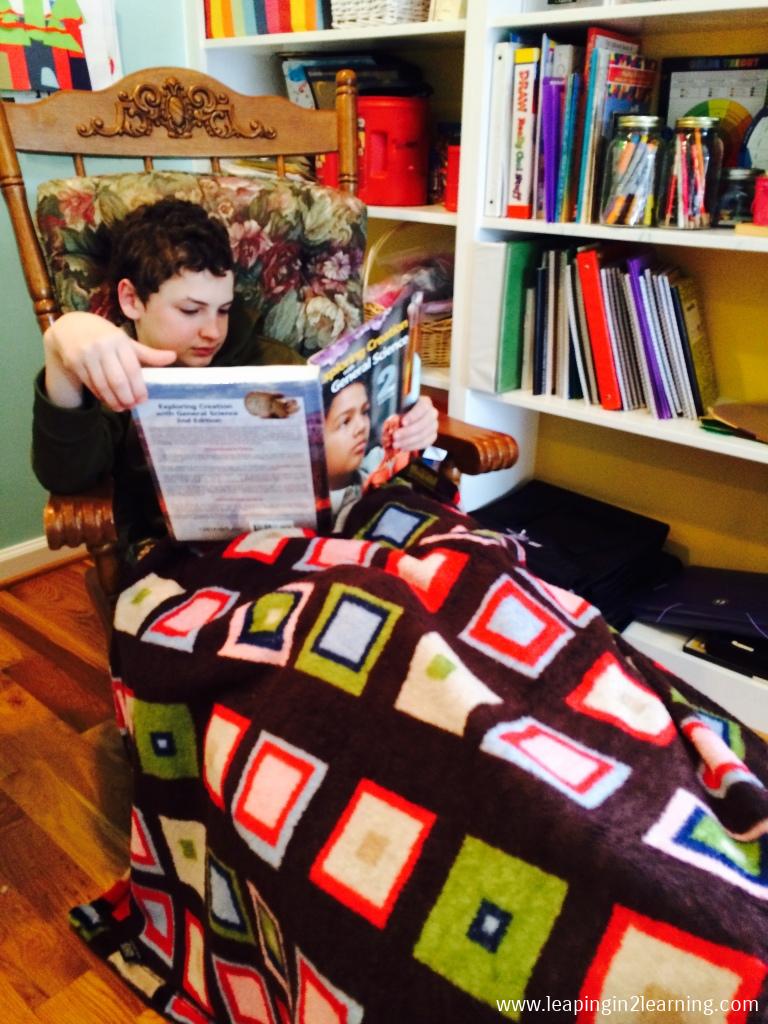
At the same time I am working with my little Pre-Kindergartner, my oldest, who is in 10th grade, is busy working on the laptop, which is shared between my four students. Also during this time, my two 3rd graders are working independently on reading to themselves, listening to an audio recording of a book they are reading along in, and/or grabbing one of their own workboxes from their ELA or Math shelves.
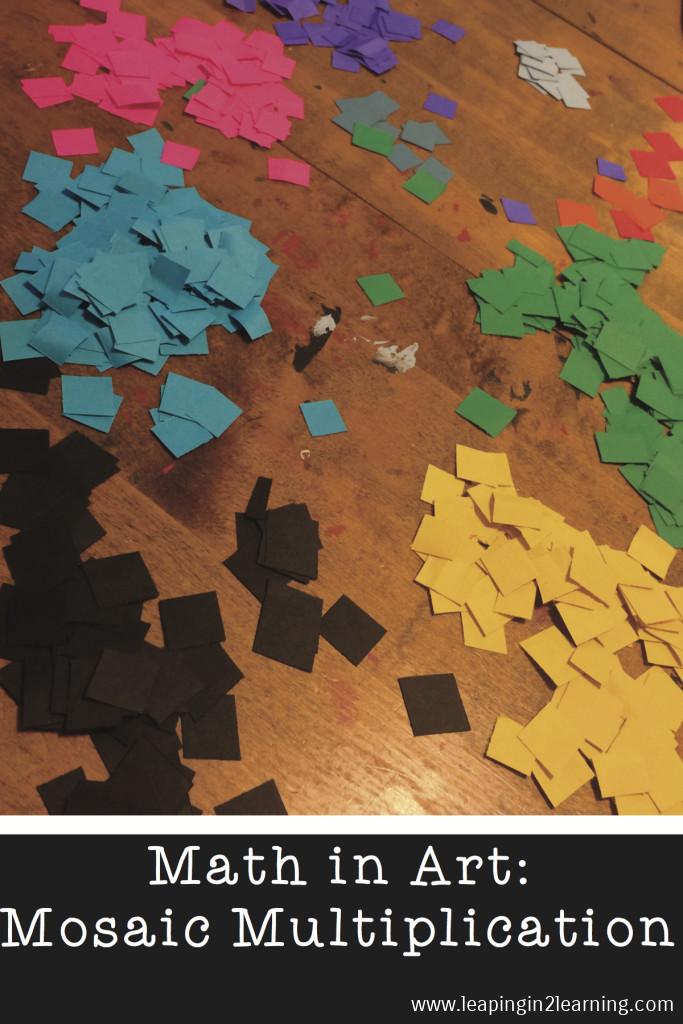
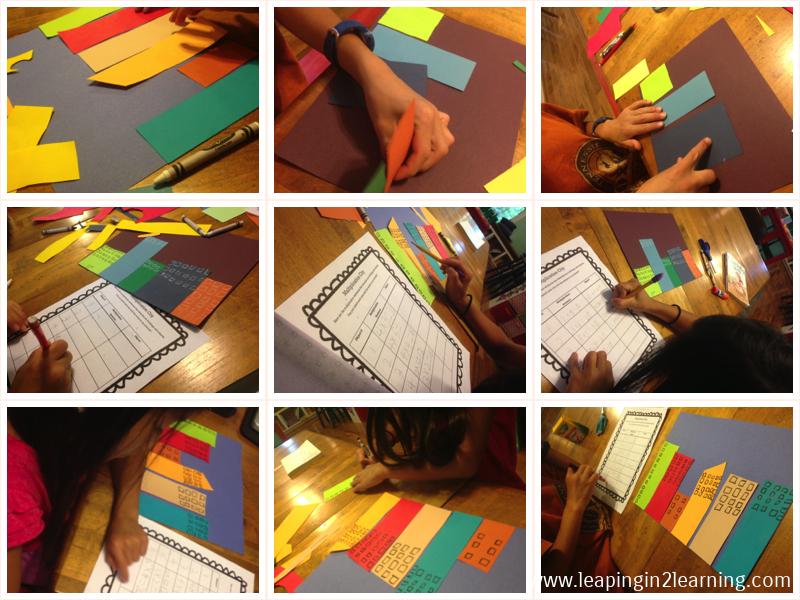
After my time with the PreKer, I move into group time with my 3rd graders, which could be a math lesson, a spelling lesson, a writing workshop, science or history lesson, or a combination of a few of the above. Since we homeschool, we definitely don’t do a group lesson on each subject every day, but we do spend time on each subject every week for a targeted time of learning new content. On this particular day below during a Math Group lesson on multiplication, we were working on a wonderful Multiplication Array activity shared by Elementary AMC.
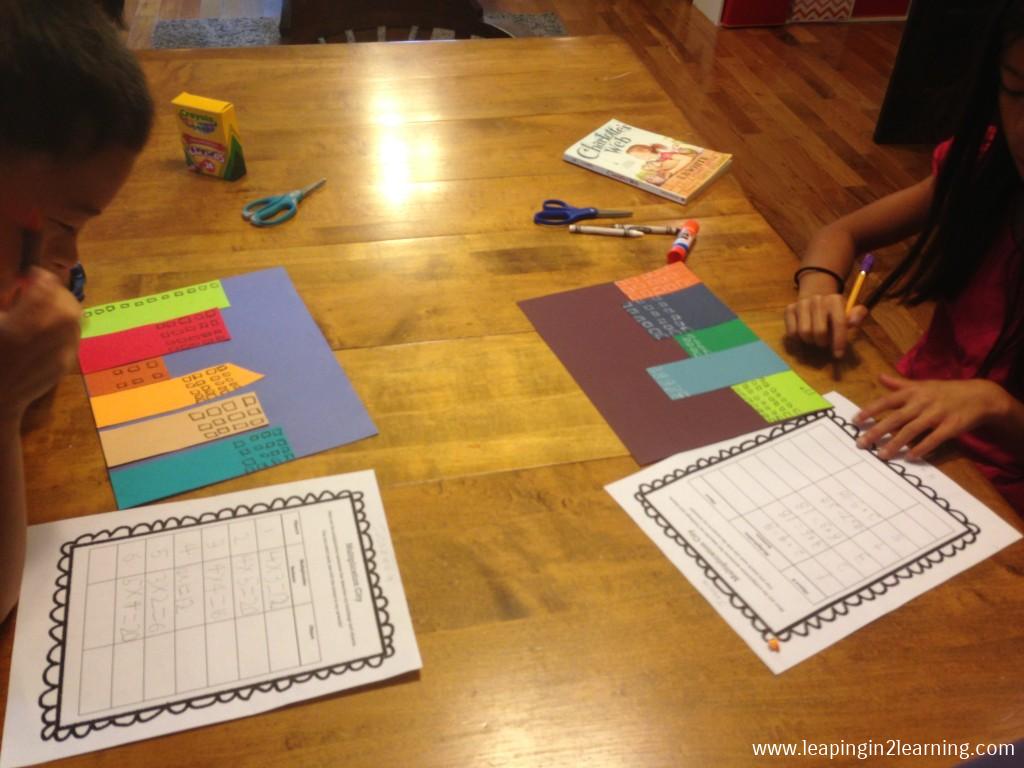
I have found posting a daily schedule for all to see not only helps my students to not say constantly, “Will you help me with this?” It also helps ME to stay on task and be present and available when I have said I would be.
2. About those workboxes, they are necessary, needs-based, functional, and fulfilling.
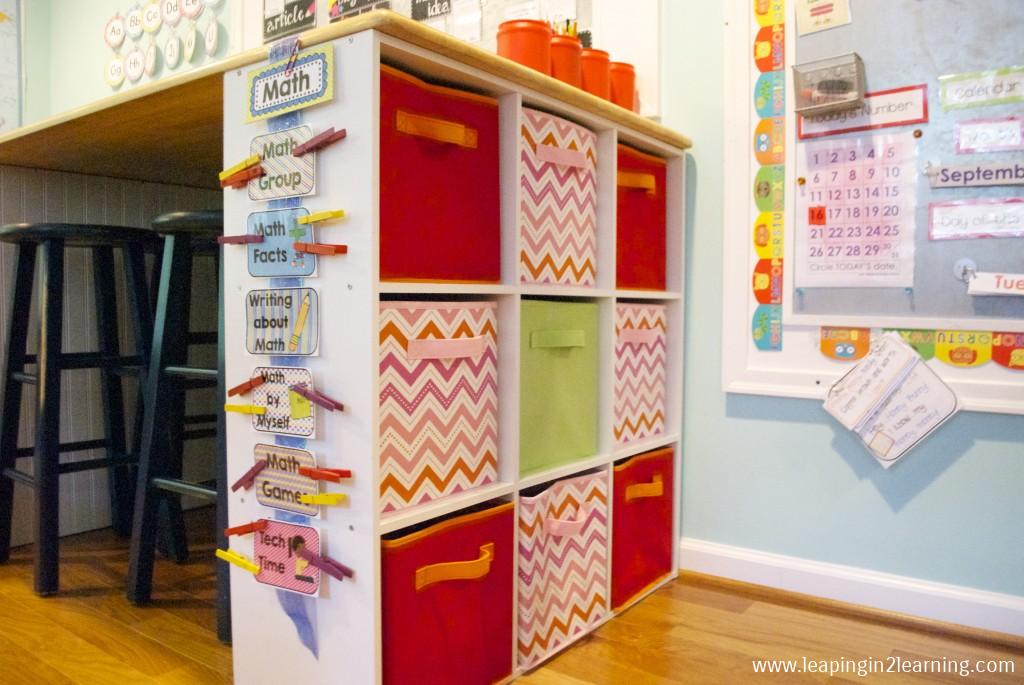
My 10th grader has obviously moved beyond the workbox, so I’ll leave him out of this topic. I have used and continue to use workboxes with my elementary students as well as my preschool student. I don’t have a huge budget, which I’m sure is the case for 99.99999% of teachers everywhere. I needed a way to have a work surface and workbox storage for my then 2nd graders. I turned to Pinterest of course. I used Cubeicals from Tar-Get and a table top purchased from a secondhand store to make a large work surface with space for 18 Cubes underneath. The green bin on each side is mine, and I use it to store things for the following week.
For my preschooler, I repurposed an old shoe cabinet (cleaned up of course) and some cloth bins that used to be in my closet!
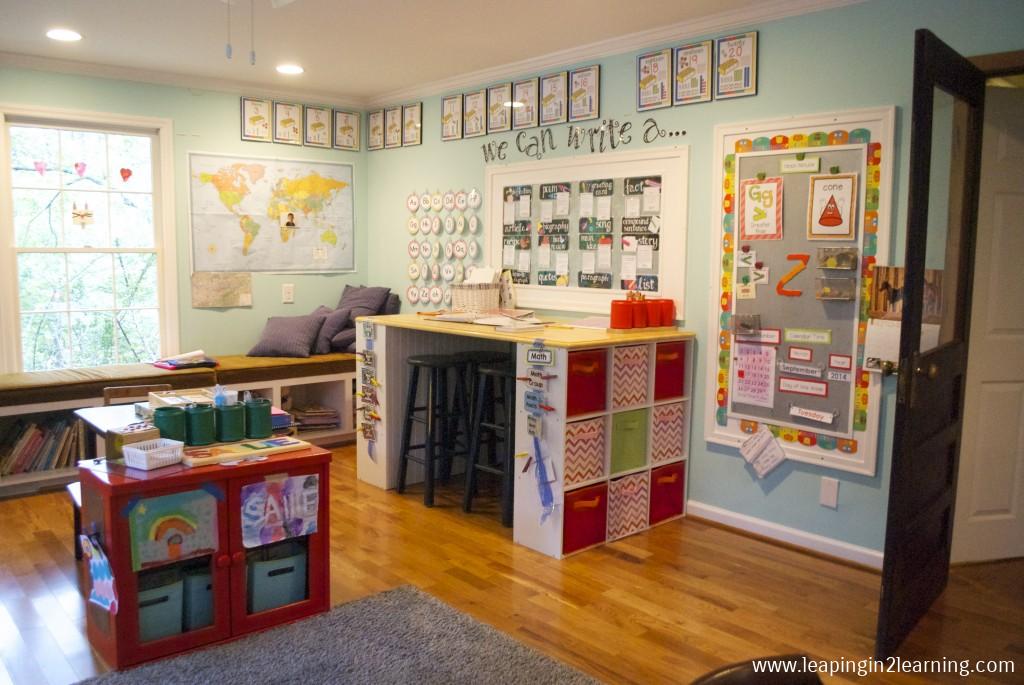
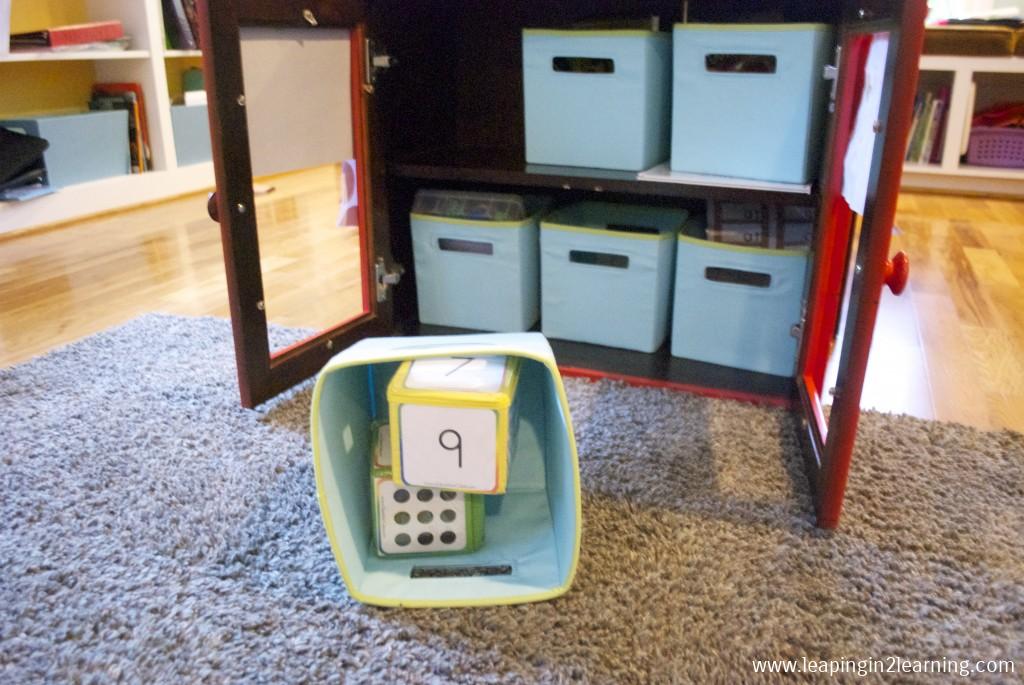
My 3rd graders have two sets of workboxes: one for ELA and the other for Math. They also have color-coded boxes, so they know where to go for their things and where to return those things. Often, they have similar or the same items but not always. In this way, I can differentiate as needed when I place new items in their workboxes before the start of each week.
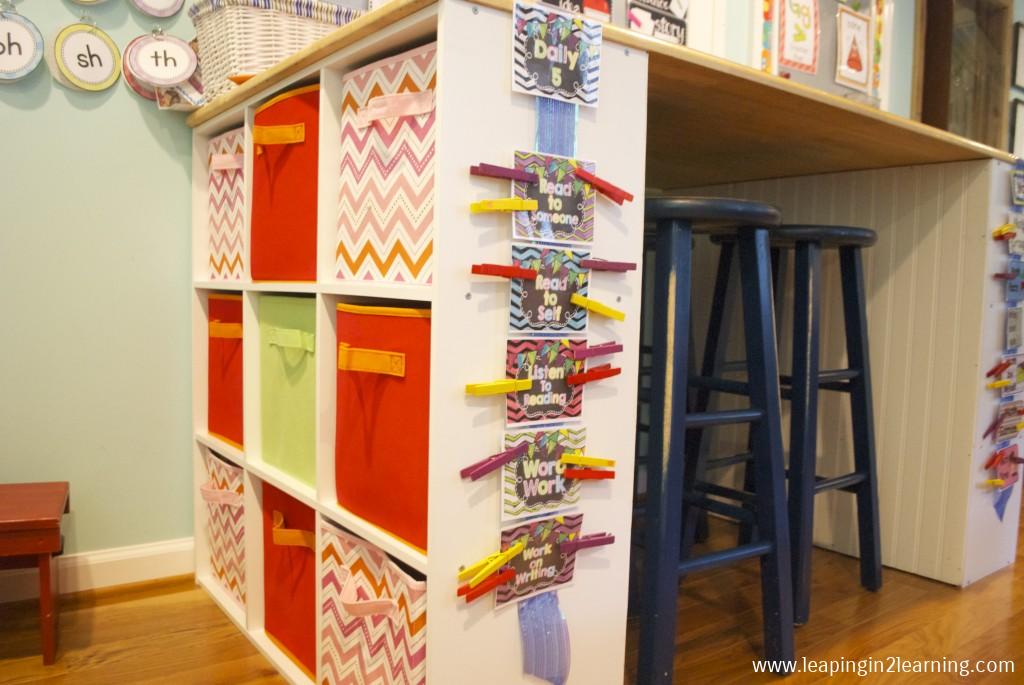
I use two resources available for FREE on TpT to help them move through their boxes each day: Math Rotation labels and Daily ELA labels. I printed both 3 to a page to fit my space and I use painted clothespins, which correspond to each student by color, for managing the available choices each day.
3. Use common resources with specific additions that meet individual learning goals.
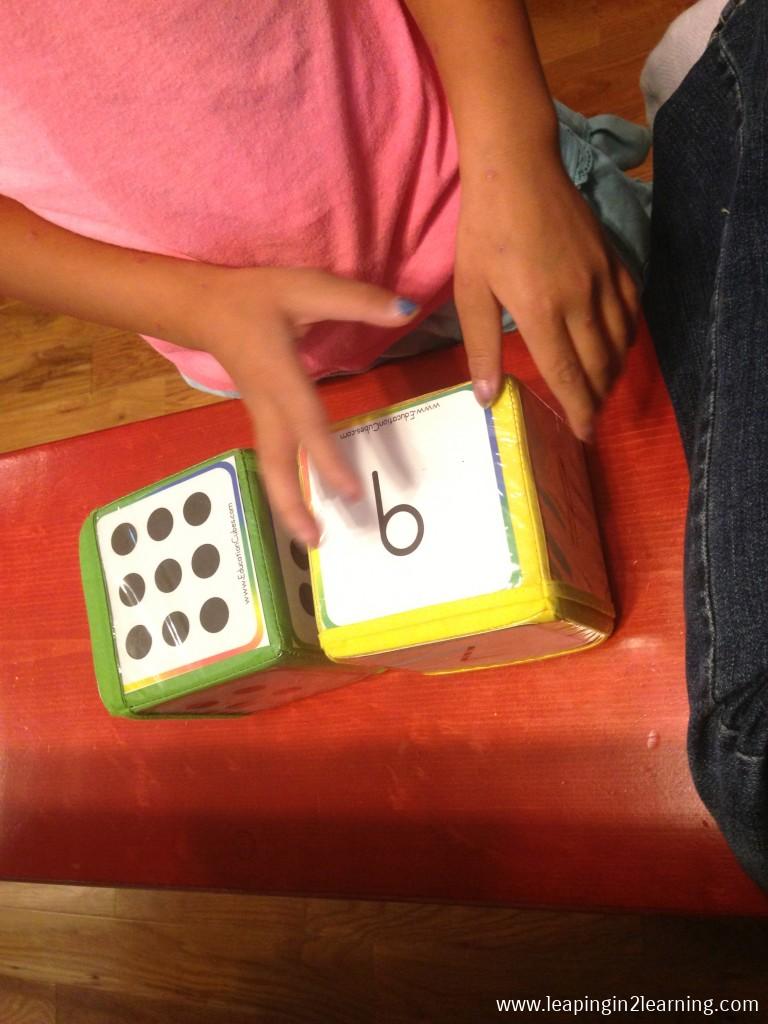
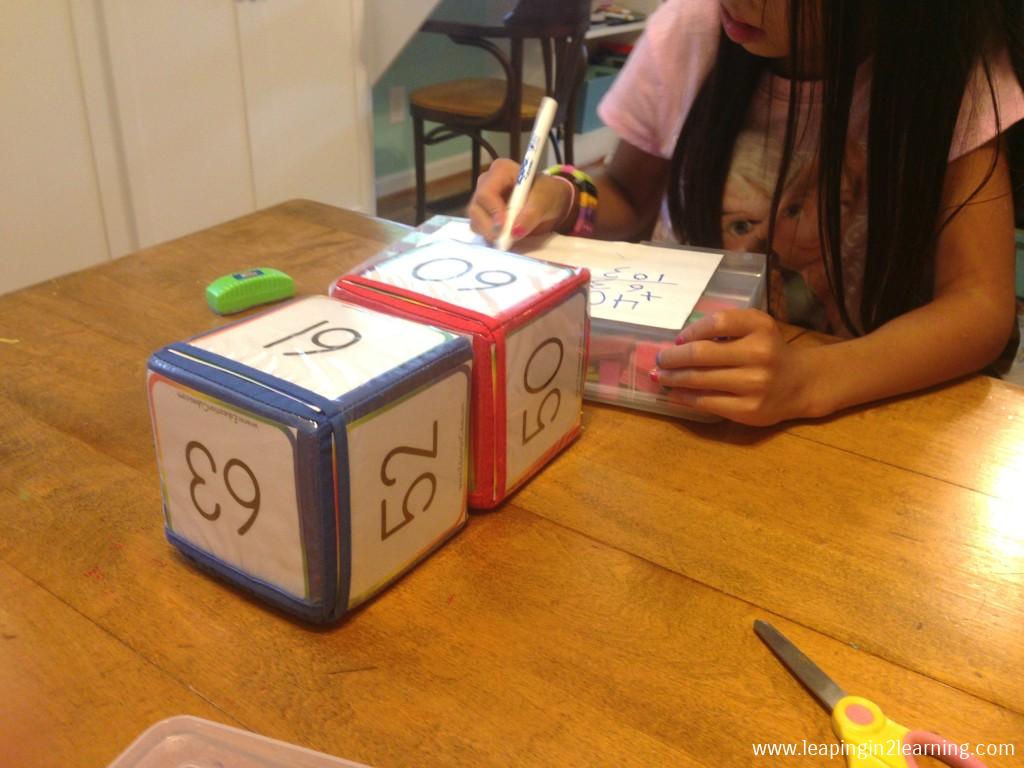
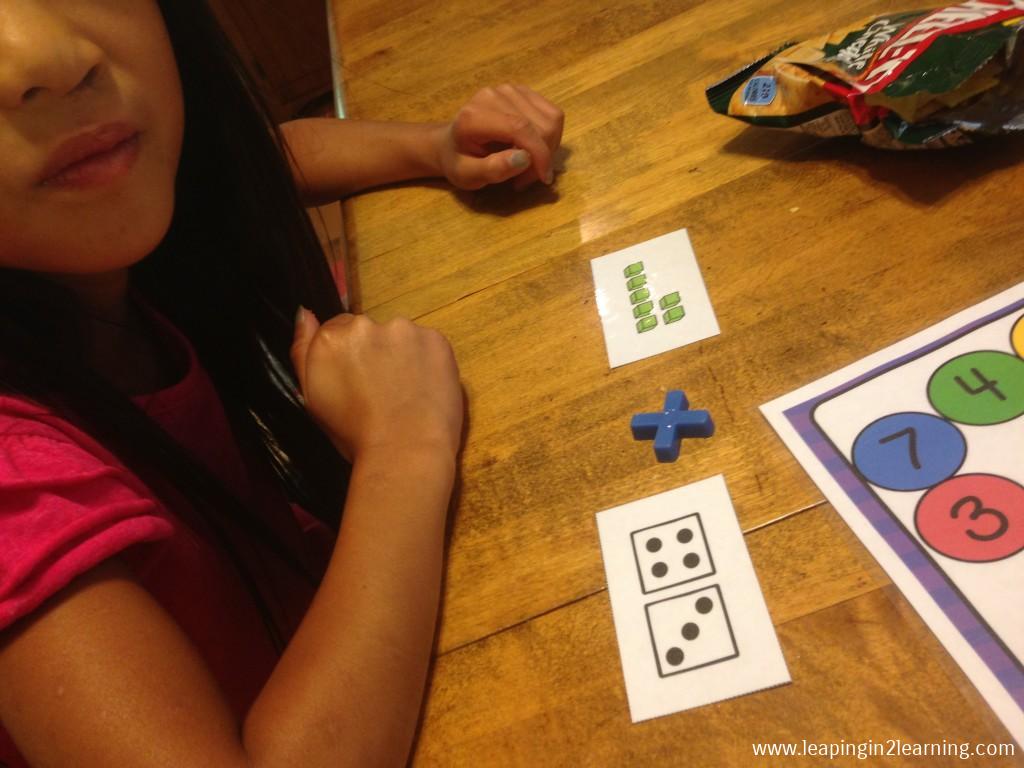
You may be scratching your head here. Let me give three examples. I have these photo blocks that I purchased along with a membership to access cards to fit them. The cards range from preschool level to upper elementary, so on any given week I can pull out these blocks to include in our workboxes. Then I just add cards accordingly for my preschooler and my 3rd graders.
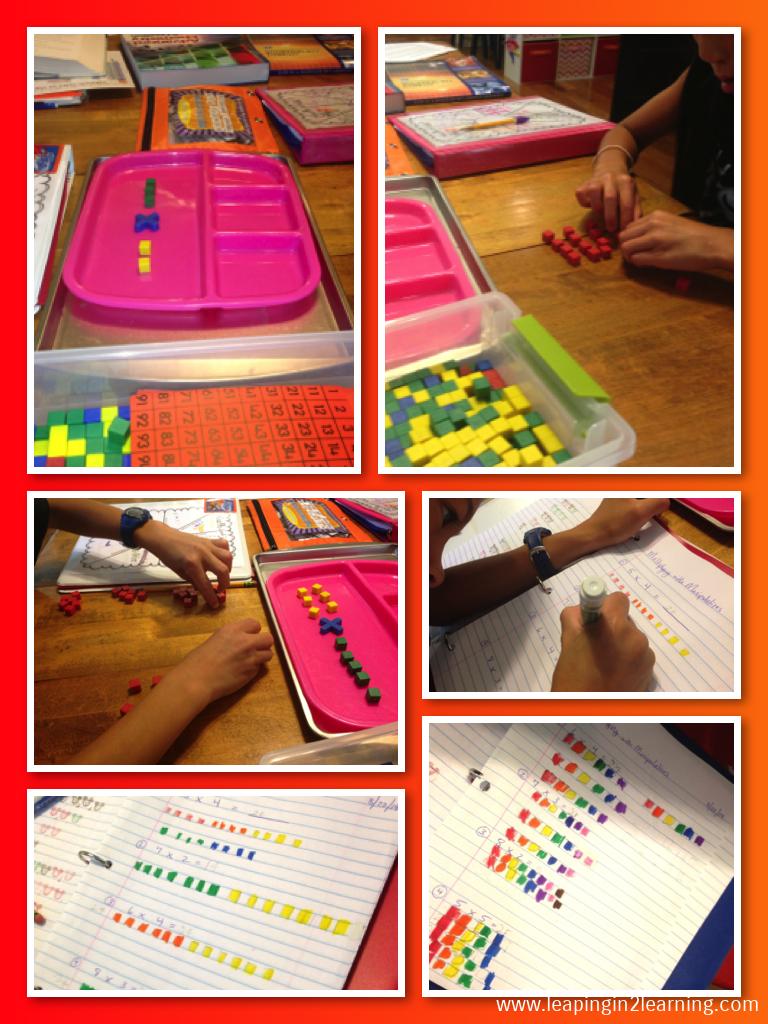
In the photo below, my Pre-Kindergartner is working on one-to-one correspondence.
My 3rd graders were working on adding three or more two-digit numbers. If you need an active math center, this might be a good option! The blocks are active but they are QUIET. Each of these activities were included in their work boxes and were clipped with Math Games on our Math Rotations board.
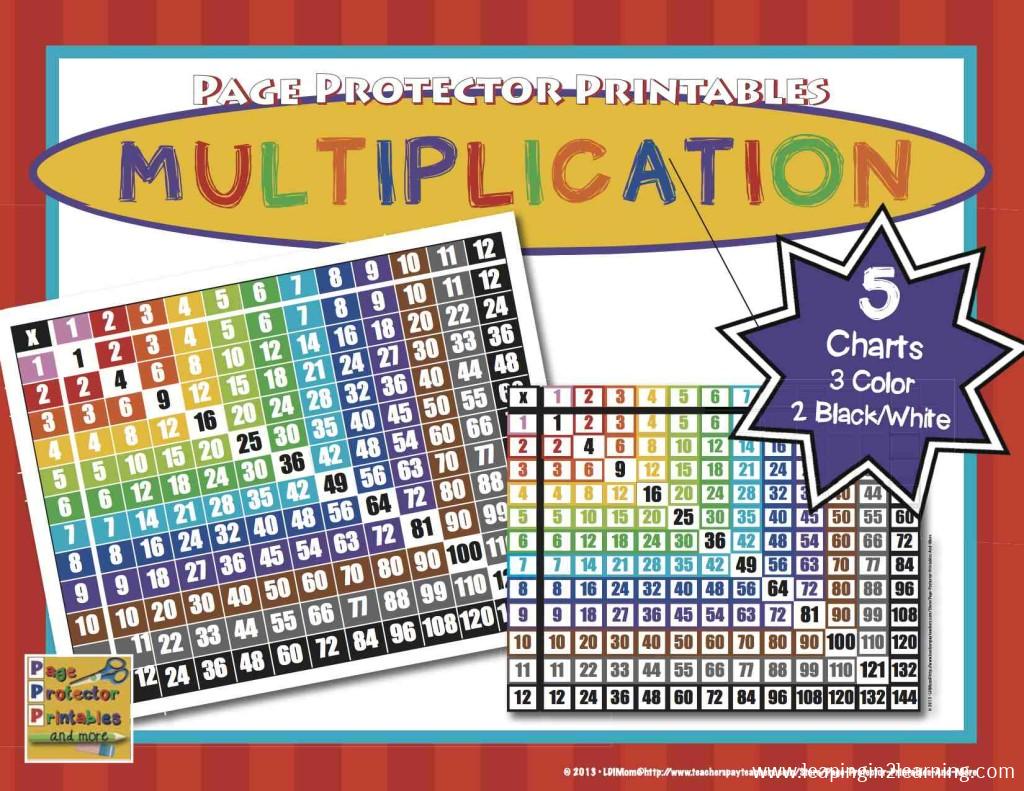
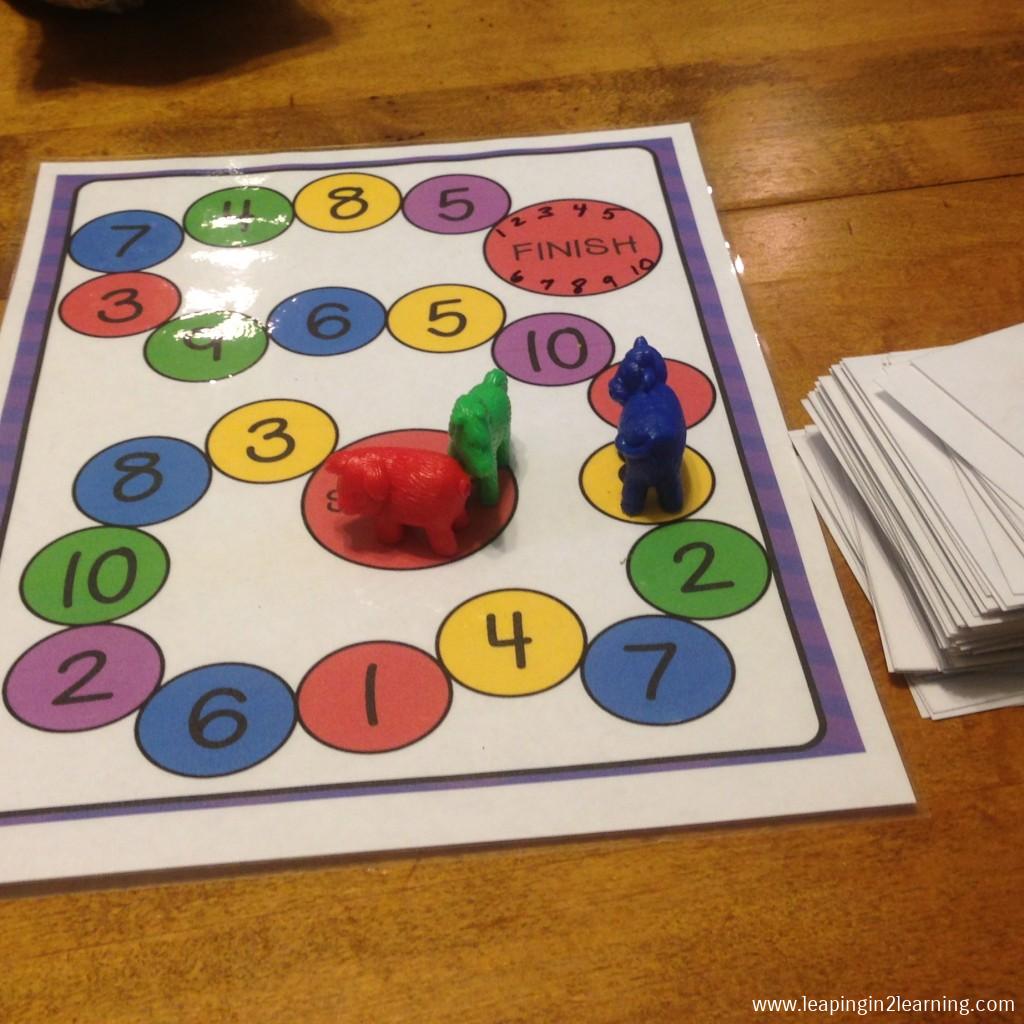
I created this game for my preschooler to work on number recognition and counting, however when trying to work with multiple students of different ages and abilities I have found simple games such as this can absolutely be used with a bit of differentiation among players.
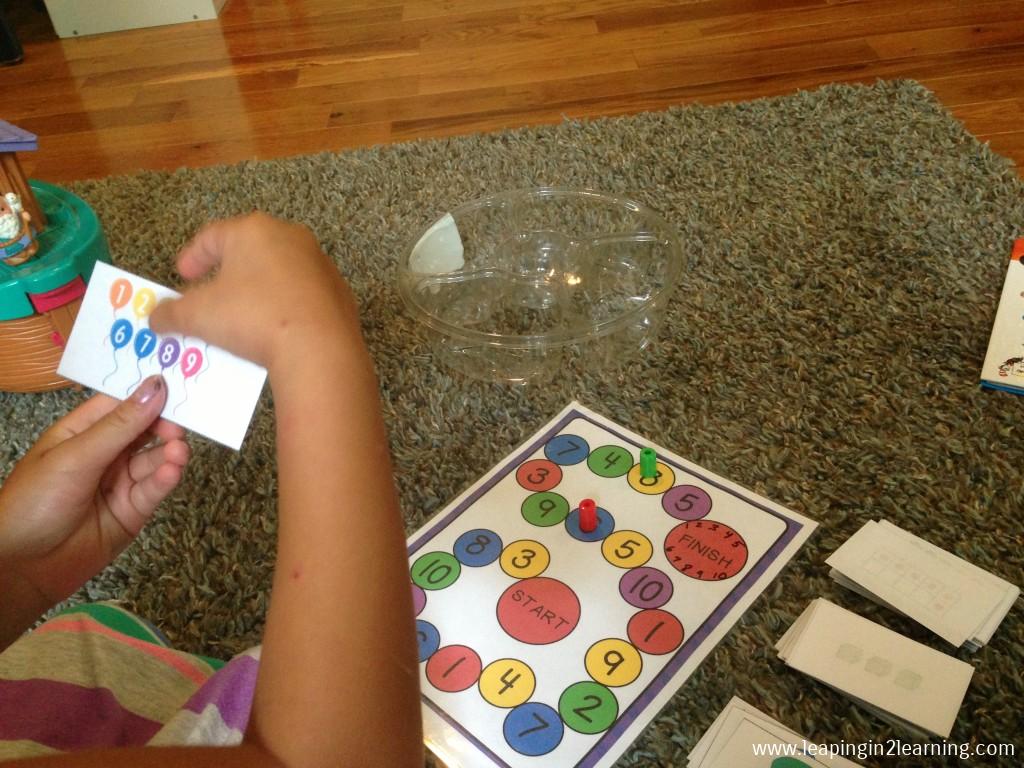
While my Pre-Kindergartener was just naming her numbers and finding that same number on the board to which to move, my 3rd grades were working on multiplication facts! They would draw two cards while she drew just one. She named her number and found that space. They found the product of their two cards and chose one of the numbers to move to on the board. It made learning fun and achievable with these multi-age learners.
Finally, I made Math Manipulative boxes for our students this summer. While each box contains the same “ingredients” if you will, my students can use them at their own ability levels and as tools during their independent learning times.
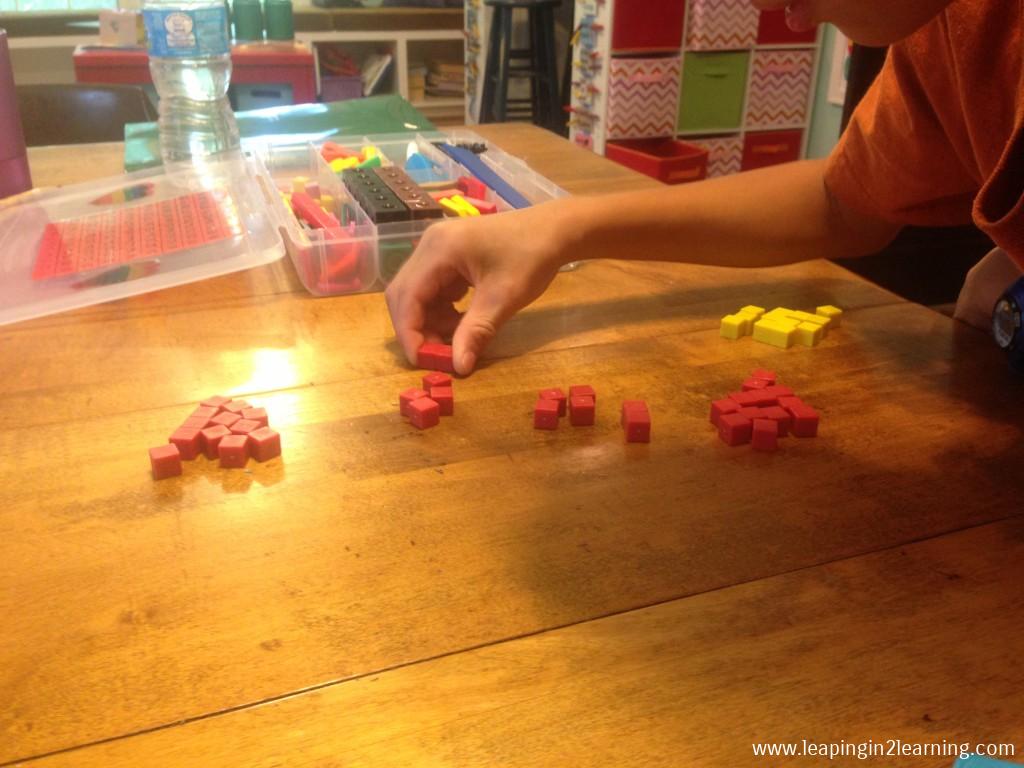
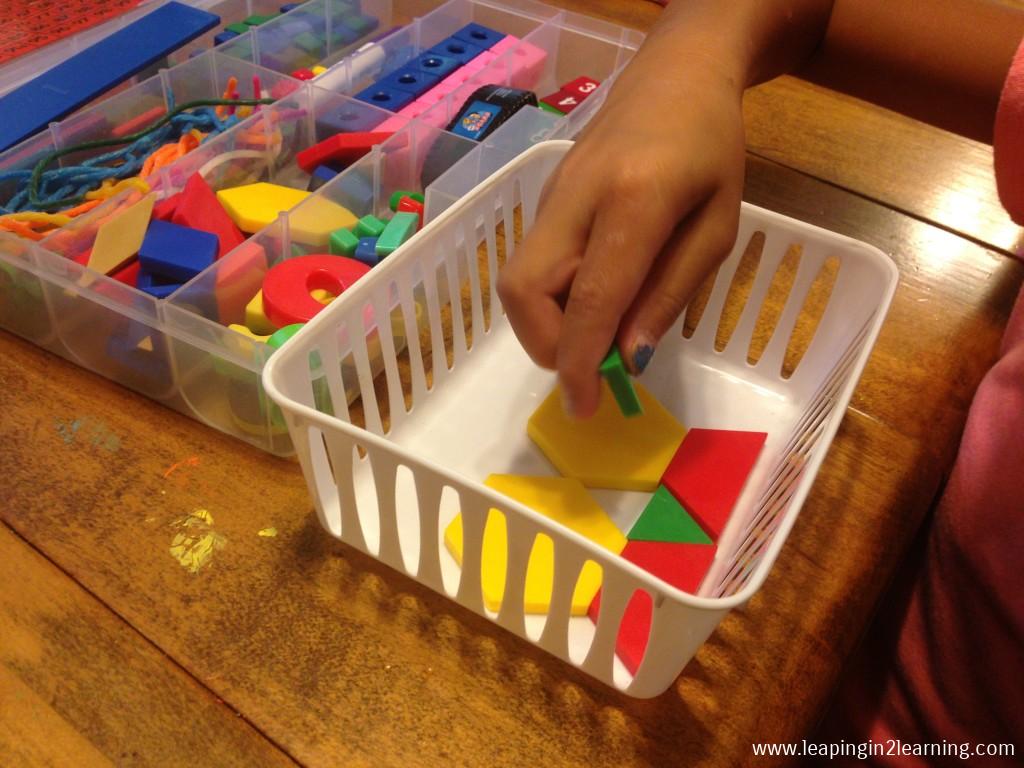
If you’d like more specific information about these boxes, you can read about them HERE.
4. Using assistance is key to our success in this unique learning environment.
I will share just two of a few ways I use assistance in our learning adventures: technology and a tutorial. For those in a more traditional classroom, you may be wondering what is a tutorial and what does it have to do with classroom needs. A tutorial is a one-day-a-week (or sometimes two days) program where I drop off our students for a full day of rotating classes with same-age peers and tutors who guide the students in that particular subject. At tutorial, our students are exposed to various teaching styles, to a more traditional classroom environment, and lastly they are accountable to someone other than me.
While classroom teachers aren’t using a tutorial, you may very well be in a setting where you rotate and teach certain subjects. I like having someone to assist me in this teaching adventure, and I hope you have a team approach in your classrooms as well!
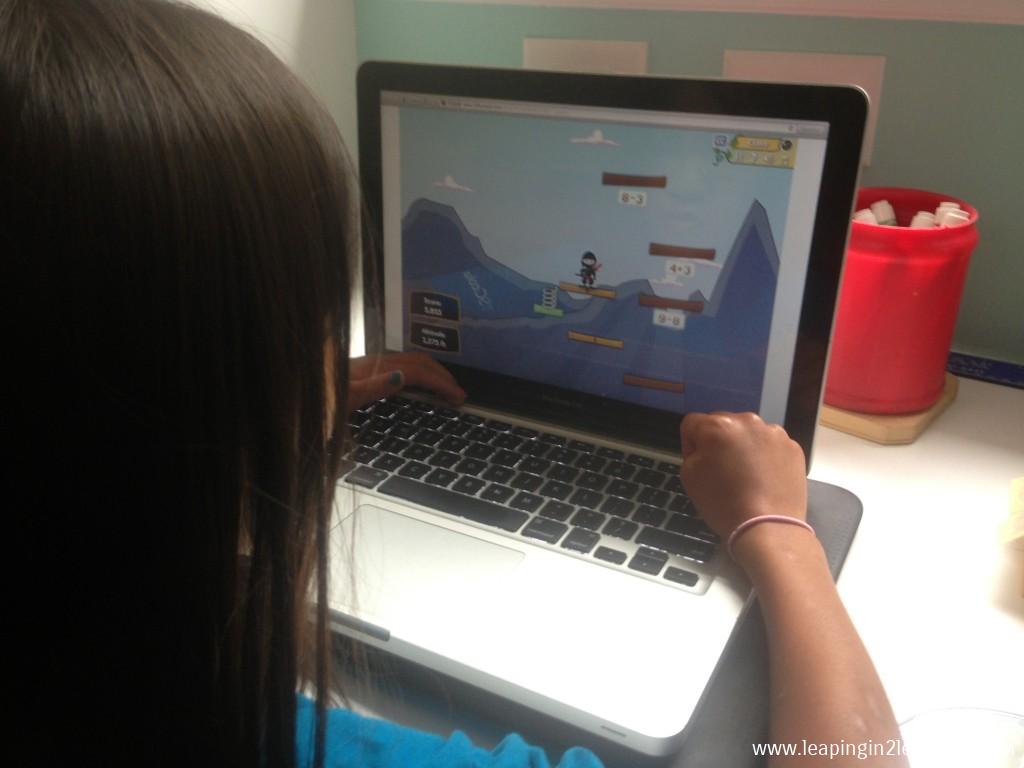
As far as technology, we use the computer and my iPad along with several websites, particularly the following:
• Tumblebooks (this is free to us as we have a library code; perhaps your school or local library has one as well)
I love that my students can follow along as each book is read. I also love that this site works beautifully on a tablet device! Each book has the appropriate reading level already assigned and they are divided into story books, language learning, chapter books, fiction, and non-fiction.
• IXL Math (and Language Arts)
We use this exclusively for math review and practice. I love that it features individual student accounts and that at any time I can view and/or print a report for each student’s progress. While it is divided by grades, students are allowed to use any grade level or multiple grade levels, which makes differentiation a breeze. Also, the CCSS are included and state standards as well for those who need this information for reporting purposes.
This site isn’t free, but there are no ads and they do offer discounts through various ways such as school licenses and through sites specific to homeschooling like Homeschool Buyer’s Co-op.
• Reflex Math
Again, a paid site but to me it is worth the cost for the absence of ads and the reports it generates in addition to its intuitiveness. Each student works on fact families at their own pace in addition, subtraction, multiplication and/or division.
Both IXL and Reflext Math have a built-in rewards system, which can be extra motivation for reluctant learners or those with a competitive spirit!
In addition to these sites, we use the computer for keyboarding practice and writing through typing. Even my youngest learner can find her way around the iPad. One other tip I’ll add: each of my students has their own set of headphones that are comfy and make it possible for them to use these devices anywhere in our library without disturbing students around them. I also set up a blog where my students can access free choice websites during independent tech time. You can find it here.
One last piece of advice: don’t underestimate the resources available for FREE from your local library! If you have a listening center in your classroom, you may be missing out if you aren’t checking out the wide range of audiobooks available at your local library. These work well on tablets and/or your desktop computers, and your students will be polishing up those reading skills if you also pair them with the actual book for them to follow along!
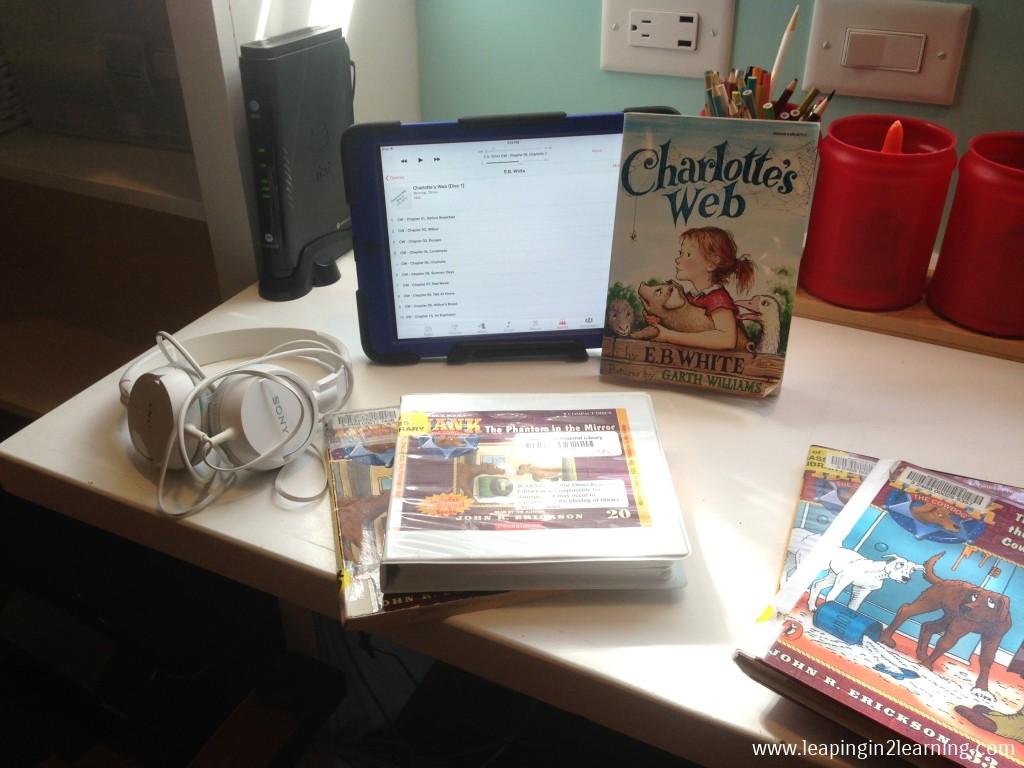
While you are working one-one-one with a student or small group of students, other students can be working independently on a device or computer with many options for ELA or math or a combination of both!
I hope you have found some helpful information in this article that perhaps you can use in your own classroom among your students. With just a bit of creativity and stretching, we can teach children of different abilities in one room, and in the process our students learn that all of us have something to offer and we can all learn from one another!

